Adding Images to Your Document
In this lesson, you will learn to include colorful images in your HTML document.
You will need three windows open on your screen at this time. A Internet Explorer window displaying this tutorial, an experimental window to view your HTML document, and a window in which you will type the HTML document.
Most Web browsers can handle just a few kind of images:
- GIF images
- JPEG images
- XBM images
Including Images
To include an image, enter the following tag and information:
<img src=" URL of the image">
Note: The URL of an image can be found by opening the image and right clicking on it. A menu will open, select properties. The window that opens will give you the URL. The URL will give the location from the hard drive, you will only need to include the information past the folder that includes the html document you are working on.
For example, the following source:
<html>


<head>


<title>Images </title>


</head>


<body>


<img src="images/earth.gif">


</body>


</html>
looks as follows, viewed through Internet Explorer:

In this example, the image of the earth is a file that has been downloaded and placed in a folder called images on the hard drive. The actual name of the file is Earth.gif.
Since the image is stored on the local hard drive the URL is the file "path". A path consists of a list of folders separated by slashes and ending with the files name. Paths are assumed to start from the folder containing the HTML source that you are currently viewing.
When you are adding images to your document you generally find an image you want on the Web, download it and place it on your hard drive or diskette and then include it in your document with the appropriate tag and URL. Once the file is located on your hard drive or diskette it is now a local file.
It is time for you to download an image and insert it into your HTML document.
Here are three images to choose from:
 Download one of the three images to your hard drive or diskette. You can keep the name that has been given to the file or you can change it.
 Click on the window containing your HTML document.
Insert the image you just downloaded by entering the following :
<img src=" URL of the image"> with the appropriate URL. Save your changes, and open your document in the experimental window.
URL's can also specify external files on the Web.
For example, the following source:
<html>


<head>


<title>Images </title>


</head>


<body>


<img src="http://magma.nationalgeographic.com/pod/pictures/normal/NGM1998_09p86lo.jpg">


</body>


</html>
will display an external image on the Web.
Aligning Images
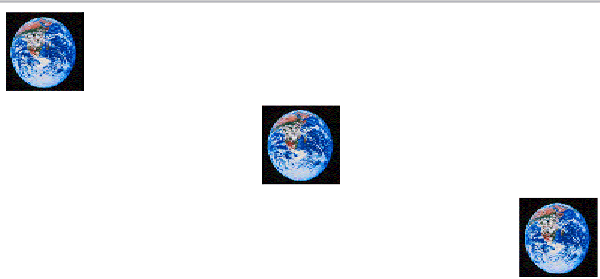
You have some flexibility when displaying images. You can have images aligned to the left, right or center of the page.
To display an image without any associated text, make it a separate paragraph. Use the paragraph align= attribute to position the image.
For example, the following source:
<html>


<head>


<title>Aligning Images </title>


</head>


<p align=left>


<img src="images/earth.gif">


</p>


<p align=center>


<img src="images/earth.gif">


</p>


<p align=right>


<img src="images/earth.gif">


</p>


</body>


</html>
looks as follows, viewed through Internet Explorer:

Aligning Text with an Image
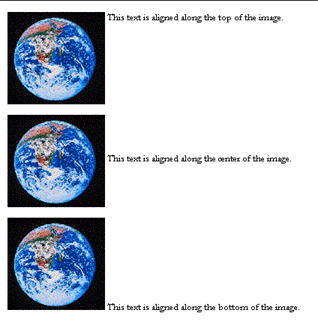
You can align text along the top, center, or bottom of an image. By default the text is aligned along the bottom of an image.
To align text you must use the align= attribute within the <img src=" URL of the image"> Tag.
For example, the following source:
<html>


<head>


<title>Aligning Text with Images </title>


</head>


<body>


<img src="images/earth.gif" align=top>


This text is aligned along the top of the image.


<br>


<br>


<img src="images/earth.gif" align=center>


This text is aligned along the center of the image.


<br>


<br>


<img src="images/earth.gif" align=bottom>


This text is aligned along the bottom of the image.


</body>


</html>
looks as follows, viewed through Internet Explorer:

(Note that words are supposed to be unreadable, the image has been shrunk)


 Download one of the three images to your hard drive or diskette. You can keep the name that has been given to the file or you can change it.
 Click on the window containing your HTML document.

