 Open a new blank slide. You can choose new from PowerPoint's file menu to get a new drawing page. This tutorial will teach you some new features of PowerPoint's drawing tools. You will learn how to rotate and flip objects.
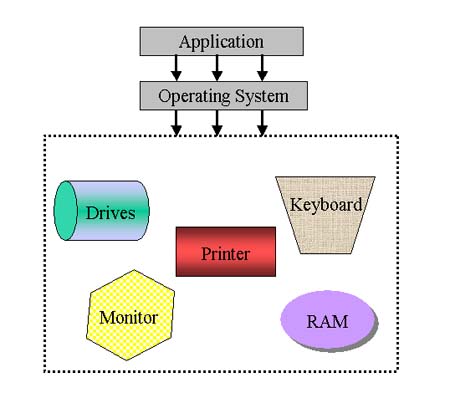
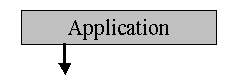
Begin by drawing a textbox at the top of the screen. Write Application in the text box. Now draw an arrow pointing down from the text box. The arrow is part of AutoShapes - Lines.
You will need three arrows. Create two duplicates of the original arrow.
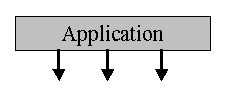
In a moment, we will need to make a copy of the three arrows. To make this easier, you should group the arrows together.
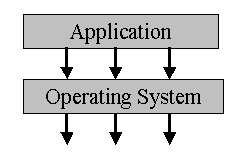
Draw another textbox below the arrows. Write Operating System in the text box. Duplicate the set of arrows under the Applications box and put them under the Operating Systems box.
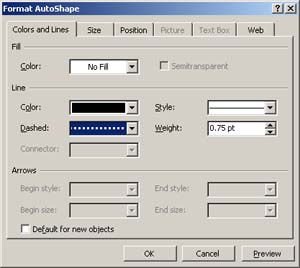
Next draw a large box under the arrows. This box will contain shapes representing various types of hardware. This box should have a dashed line for its edge instead of a solid line. To change the line to a dashed line, right click on the box and select Format Auto Shape. In the Format Auto Shape window, you can change the solid line to a dashed line. You can also change the style, width, and color of the line and the background color of the shape in this window.
Draw a cylinder inside the box. You can find the cylinder drawing tool in the AutoShapes - Basic Shapes menu.
Powerpoint offers several different tools for flipping and rotating objects. They can all be found in the draw menu (located in the lower left of the Powerpoint window) under Rotate or Flip.
 Flip Horizontal
 Flip Vertical
 Rotate Left
 Rotate Right
 Free RotateSelect the cylinder and use the Rotate Left button to move the cylinder onto its side.
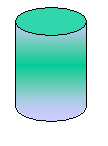

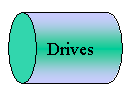
Draw a textbox over the cylinder and write Drives. To make the textbox transparent, select the text box and click on the Fill Color button at the bottom of the screen. Select No Fill from the menu.
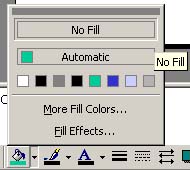
To remove the line from around the text box, click on the Line Color button ( ) and select No Line.
You can also right click on the text box and select Format Text Box from the menu. Change Line Color to No Line and Fill Color to No Fill. Your cylinder should now look like this:
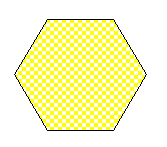
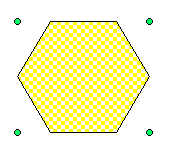
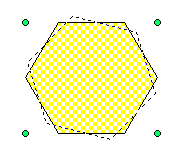
Next we will practice using the Free Rotate tool. Draw a hexagon inside of the box. You can find the hexagon in the Basic Shapes menu. Select the hexagon and click the Free Rotate button. Put your cursor over any of the green circles that appear at the corners of the object to rotate it.
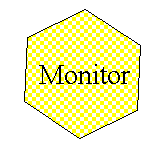
Once you have rotated the object, create another text box on top of the rotated hexagon. Remove the line and the fill color from the text box and add the word Monitor.
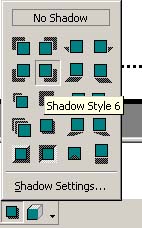
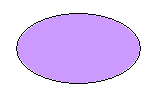
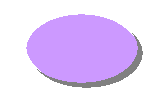
Draw an oval. The Shadow effect button should be at the far right of the drawing toolbar on the bottom of your screen. Select your object and click on the Shadow button. From the menu, select the shadow style that you would like to use.
Once you have added a shadow to the oval, write the word RAM on the object.
Add two more objects to your drawing (you can choose any objects that you want). One object should be labeled Keyboard and the other should be labeled Printer.
Your final drawing should look something like this:
You are now free to fill in the different objects in your drawing using the Fill tools. You can use whatever colors, patterns, and fill effects that you would like.