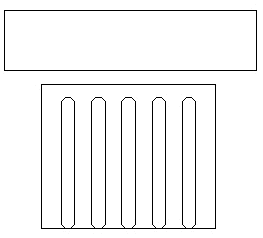
 Select the rectangle tool. Draw a rectangle bit longer than the width of column base and position it above the base.
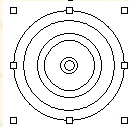
 Select the oval tool. Using the Shift key with this tool makes the ovals into circles. With the Shift key pressed, make several circles. Use the pointer to position them within one another.
 While holding down the Shift key select all six circles.
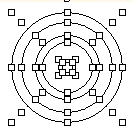 Choose Group from the Draw menu.
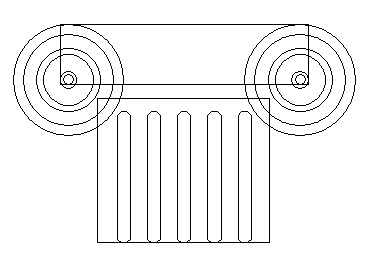
 Duplicate your spiral ornamentation and position them appropriately.
After positioning, Ungroup all of the grouped objects.
Duplicate your spiral ornamentation and position them appropriately.
After positioning, Ungroup all of the grouped objects.
| Next: Filling Objects
|