
 Select a groove. While your groove is selected, click on the arrow to the right of the Fill Color tool button and then select Fill Effects in the drop-down menu that will appear. Click on the Patterns tab.
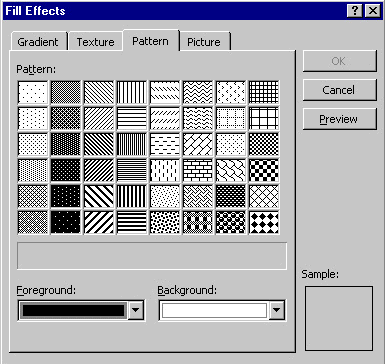
 Choose a pattern and click on the Preview button to see if you like it. When you find a pattern you like click on the OK button.
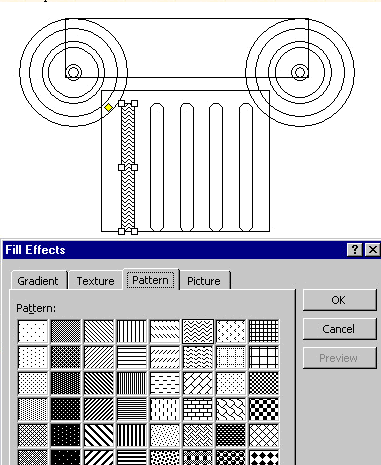
 With the Shift key pressed, select the four remaining grooves and fill with the same pattern.
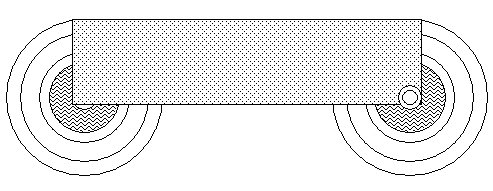
 Starting with the outermost circle, select the fourth circle in and fill it with the same pattern. Repeat this on the other side.
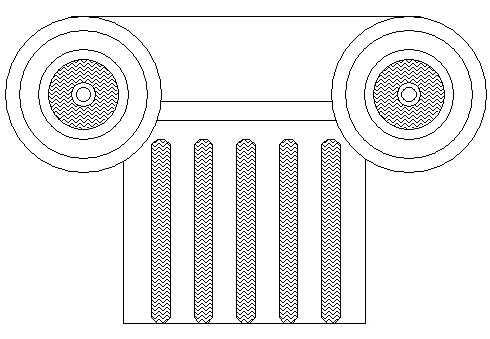
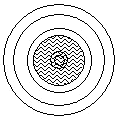
 Select the larger of the two circles you want to fill with white and fill it with white.
 Select the rectangle (abacus) and choose a pattern of your choice.
| Next: Using Foward and Backward
|