 Choose New from PowerPoints File menu.
 Click on Blank Presentation then click on the OK button.
 Highlight the blank side and click on the OK button.
 located in the AutoShapes drop-down menu under the Basic Shapes sub menu will produce the vertical grooves found on the column.
 Click on the Octagon tool button.
 Move the pointer into the drawing window. Drag the cross-shaped pointer diagonally down and to the right.

 While the object (the rounded octagon) is selected, click on the Fill Color button (
 ) to remove the fill.

 Select the object you want to duplicate.
 While the rounded octagon is selected, press and hold down the Ctrl key, now click anywhere on the octagon except the vertices of the selection box. A small plus sign should appear next to your arrow.
 Drag a copy of the object away and release the mouse button then the Ctrl key.
 After you duplicate, click outside the selection box.
 Select the duplicate octagon and hit the Delete key.
 Select the rounded octagon that you have drawn in the drawing window.
 Position the rounded octagon slightly to the left in the drawing window by dragging it.
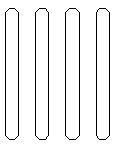
 While the object is selected, press and hold the Ctrl and Shift keys. Drag the duplicate rounded rectangle to the right a distance approximately equal to its width. Release the mouse button.

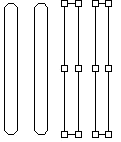
 While holding down the Shift key, select both of the rounded ocatgons.

 While both rounded octagons are selected, choose Group from the Draw menu.

 Select and duplicate your new grouped object. Make sure you press both the Shift and Ctrlkeys to keep everything level.

 Select one of the grouped objects and then choose Ungroup from the Draw menu.

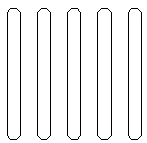
 Ungroup all grouped objects on your drawing window.
 Select and duplicate one of the rounded octagons. Remember to keep everything level and to click outside the selection box when you are done.

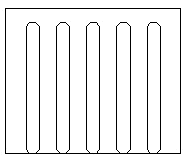
 Select the rectangle tool from the tools bar. Enclose the grooves with a rectangle by dragging the mouse. If the rectangle is filled clear the fill by clicking on the Fill Color button (
 ) while the rectangle is selected.

| Next: Drawing the Abacus
|